| Forum | Marketplace | Knowledge Base | | H1 site | H2 site | H3 site | |

The Hummer Knowledge Base
|
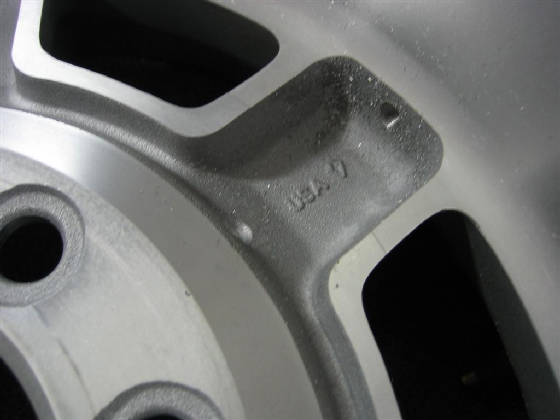
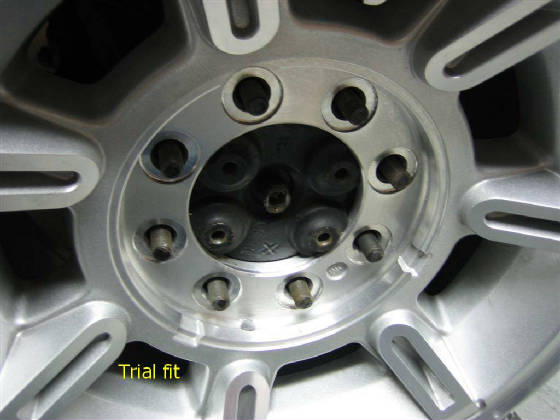
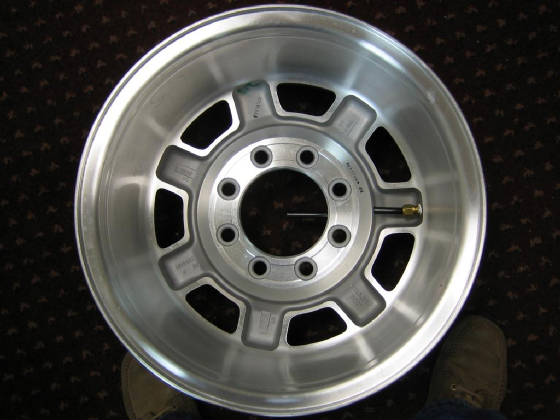
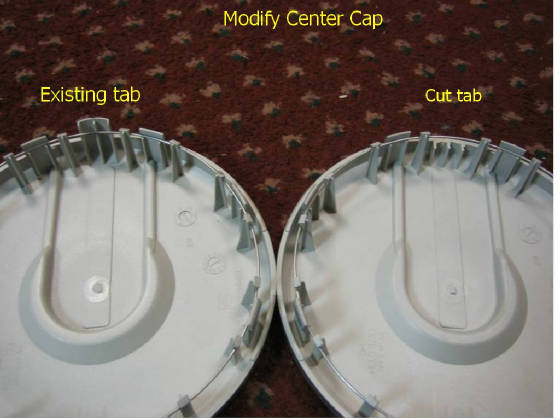
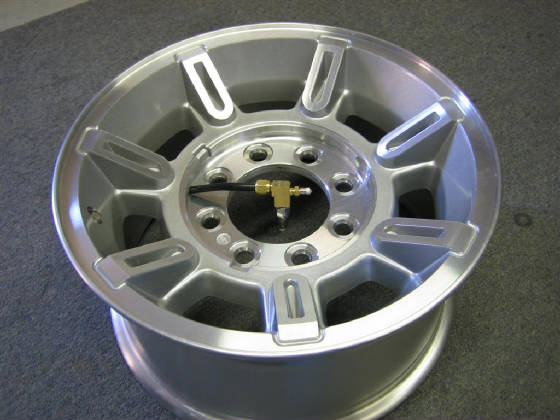
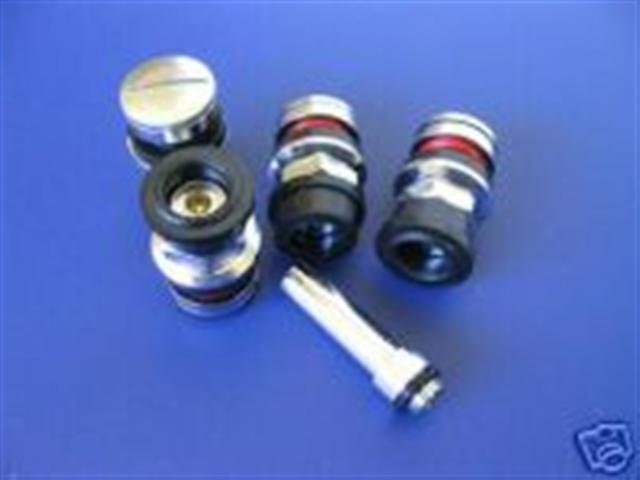
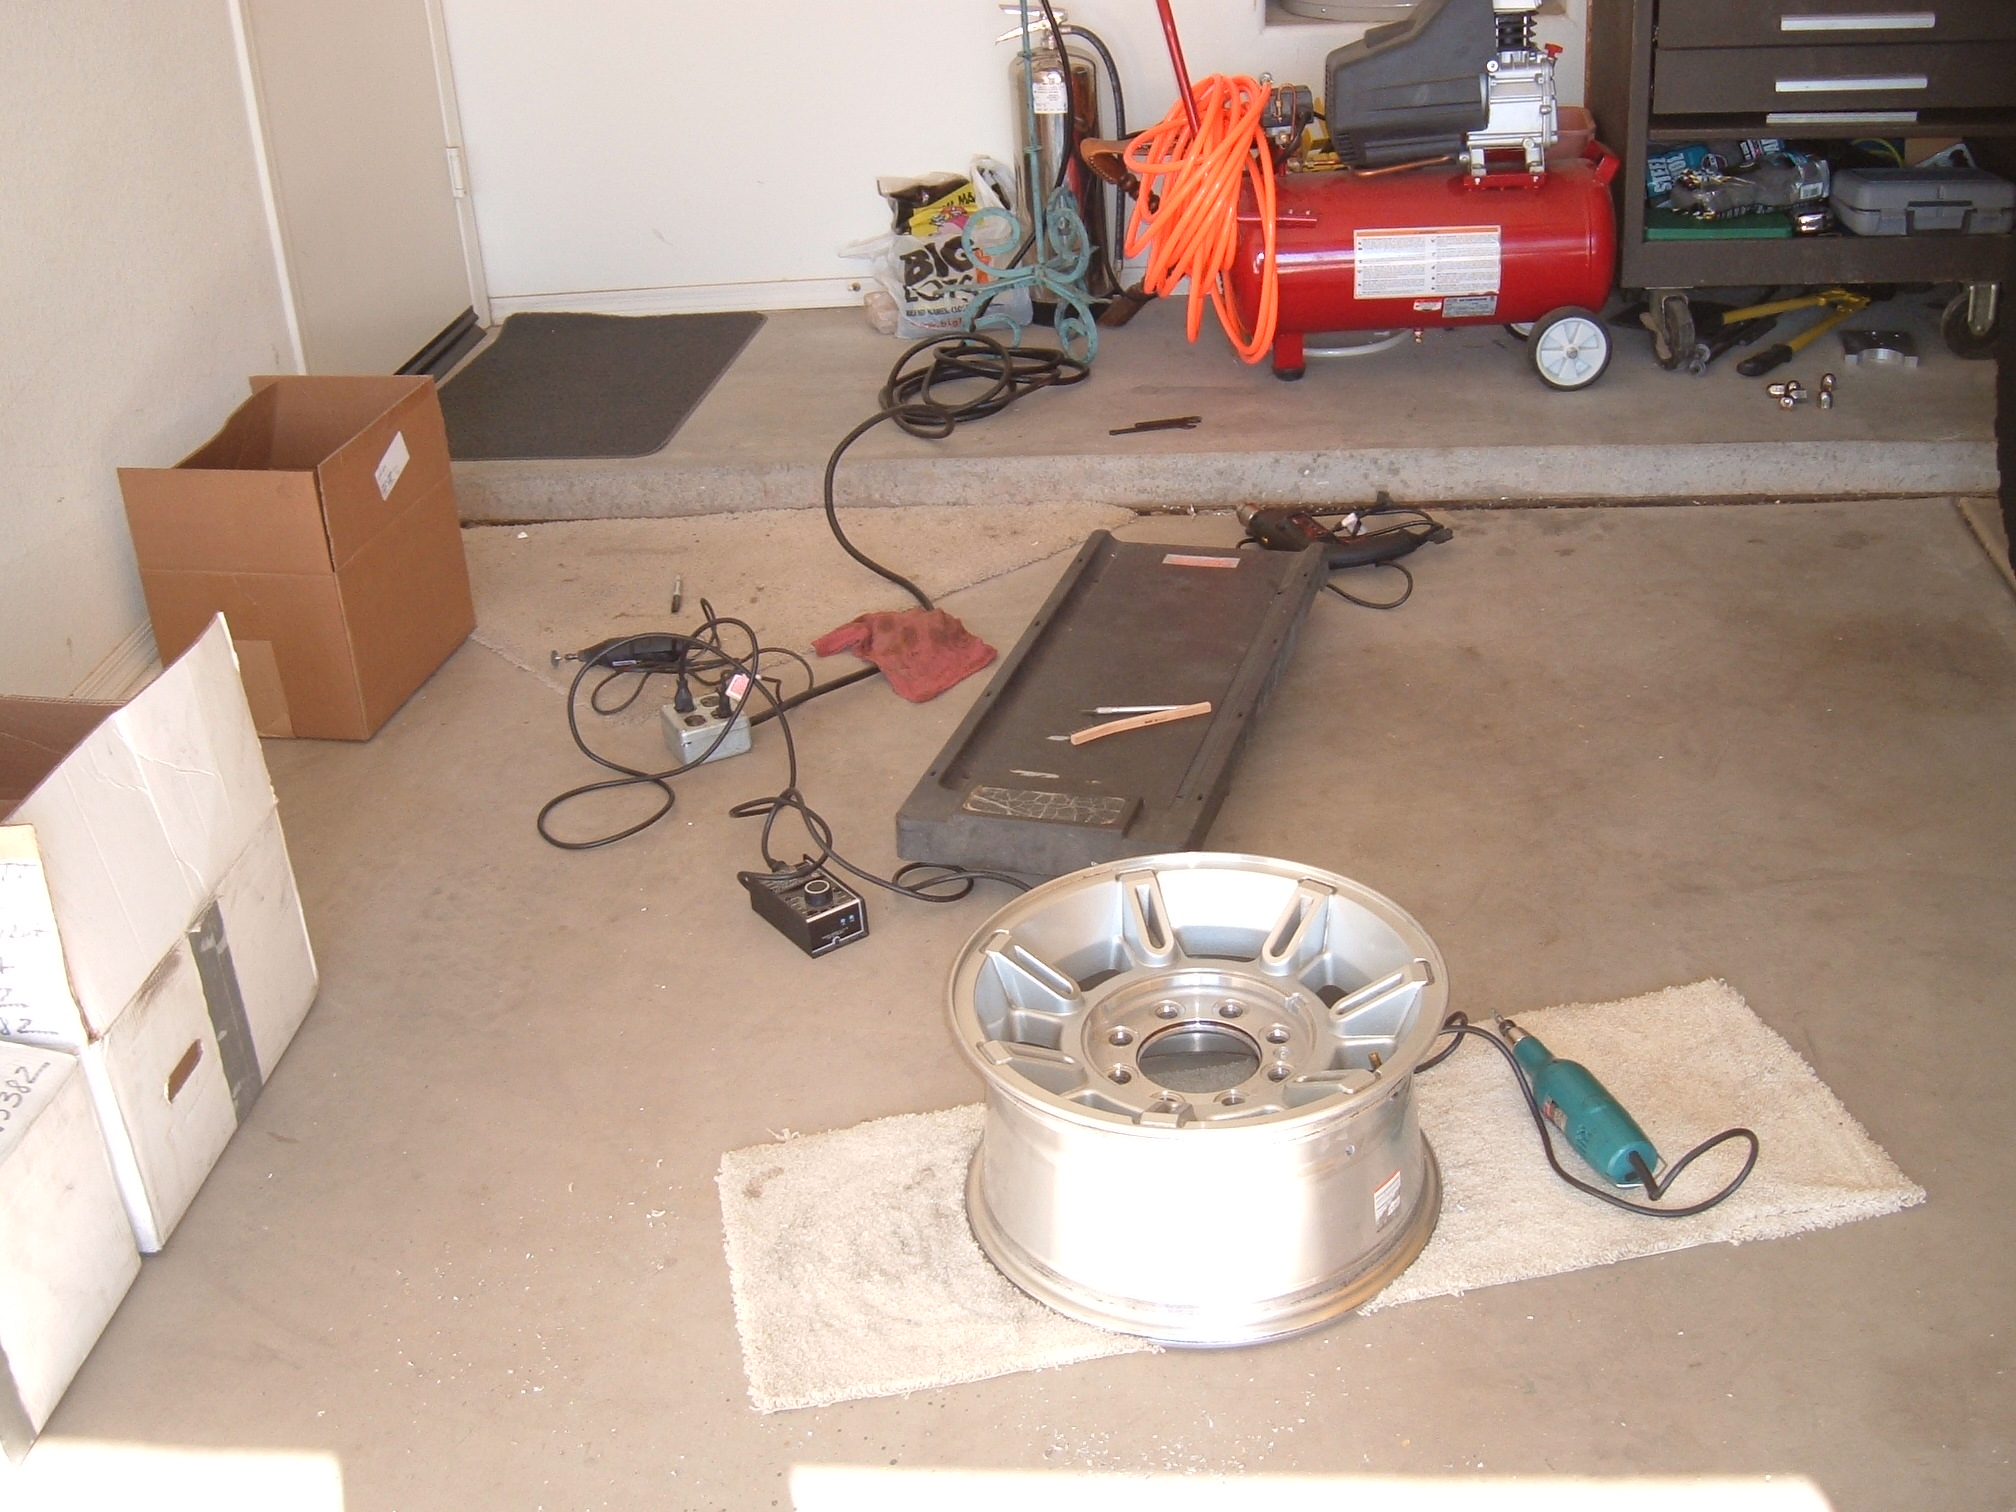
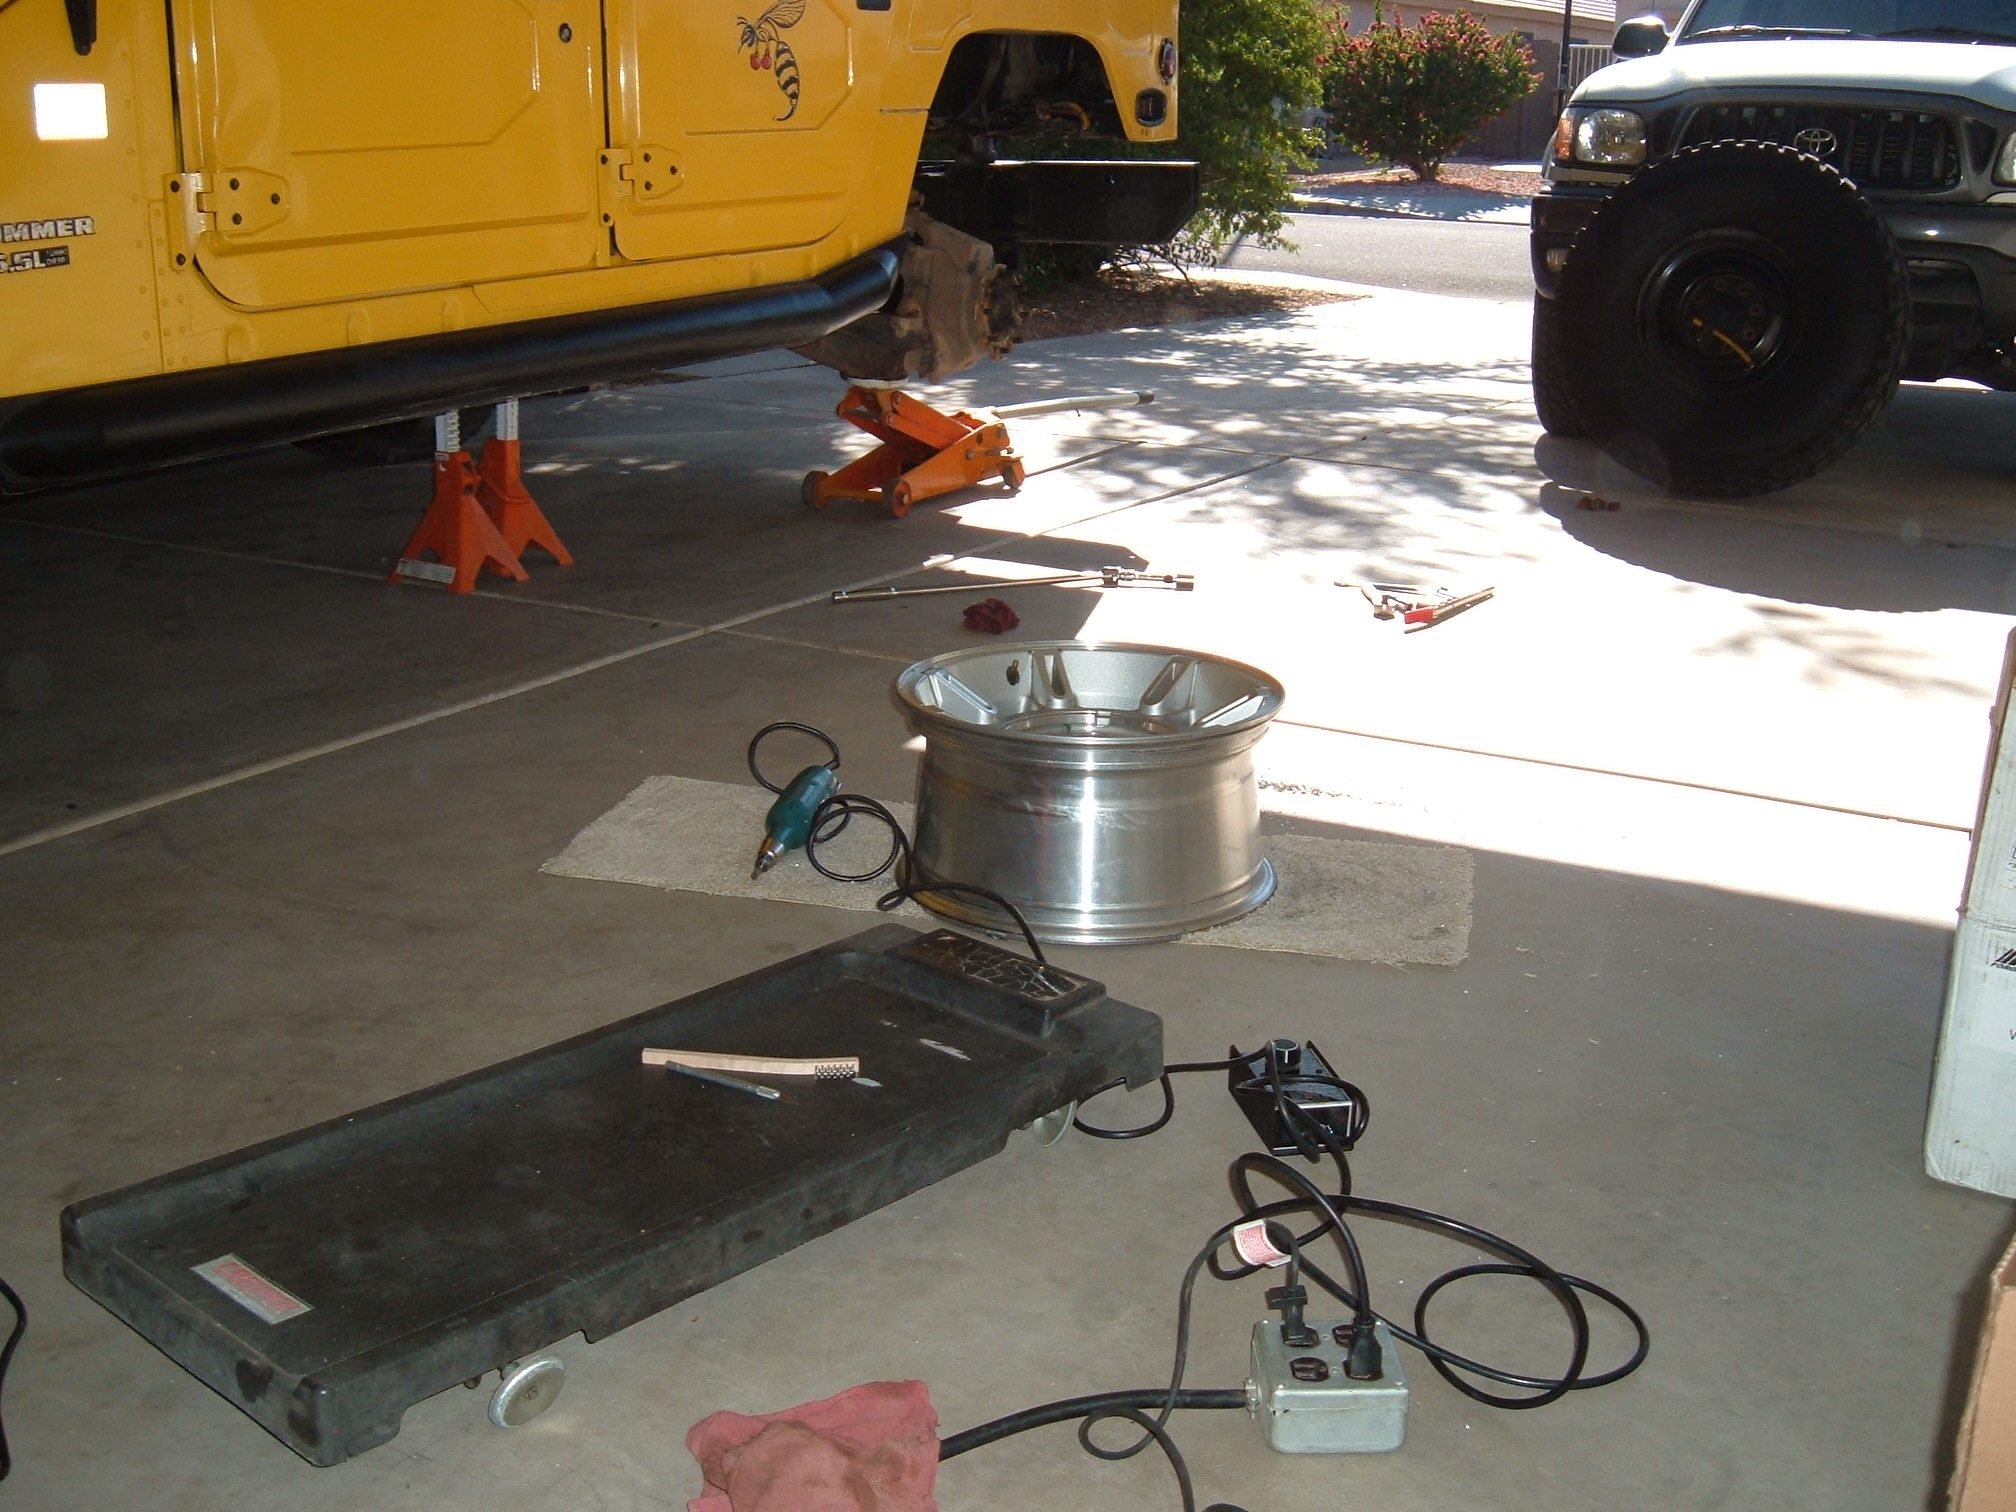
In order to use the H2 wheel on the H1, the wheel needs to be modified as follows:
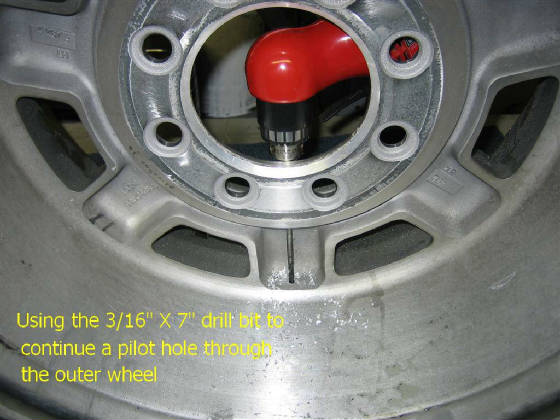
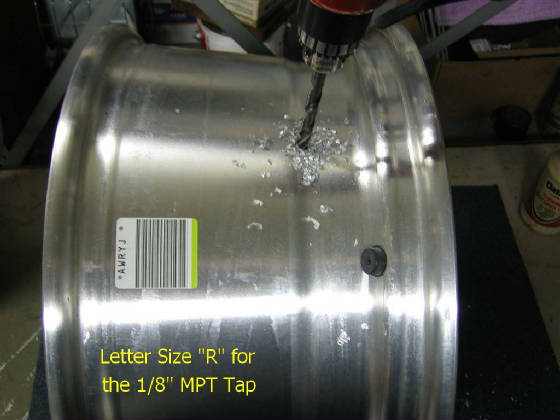
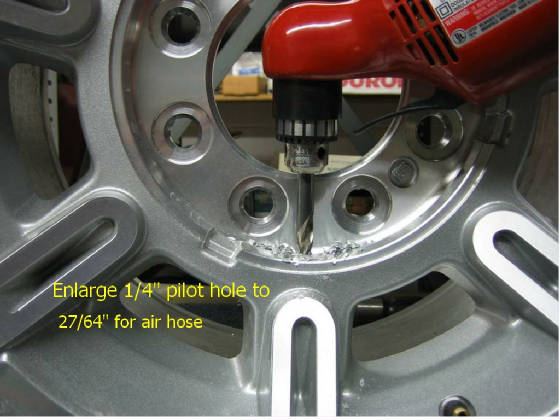
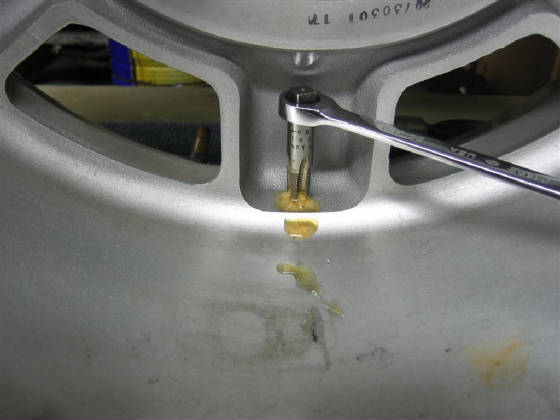
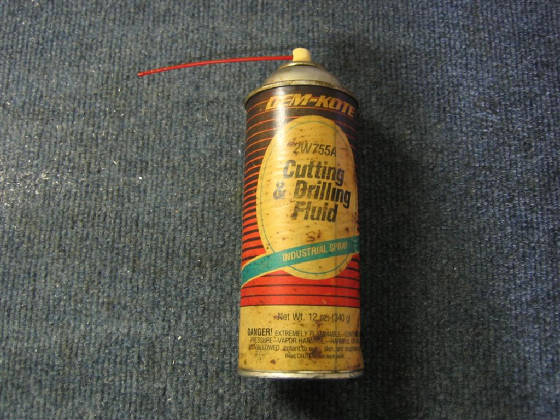
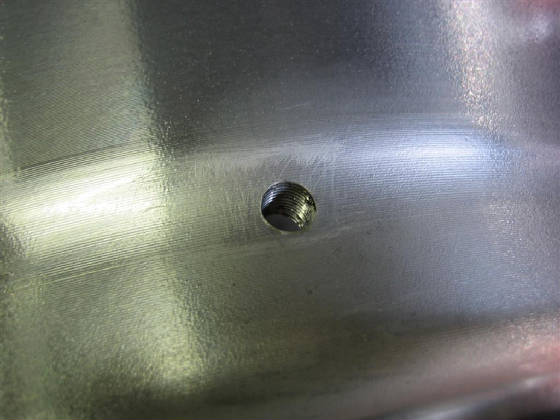
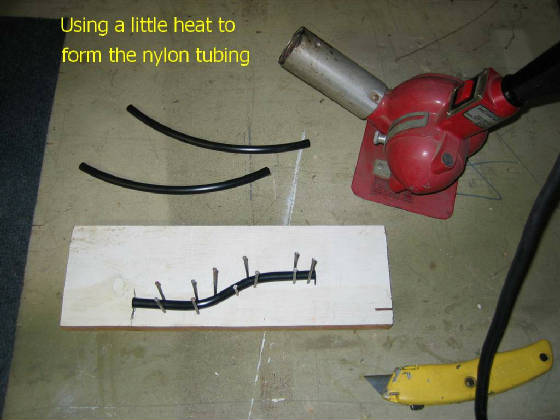
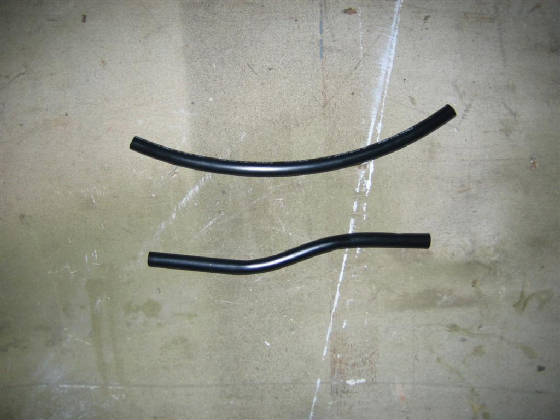
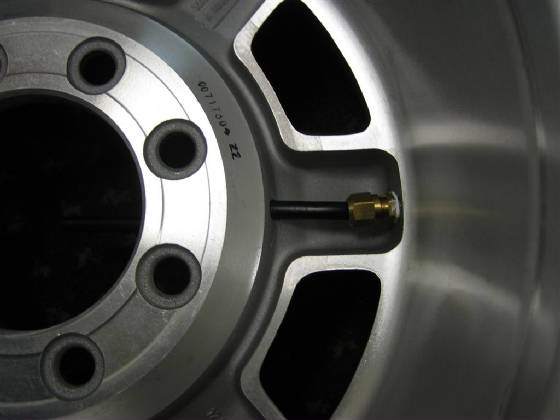
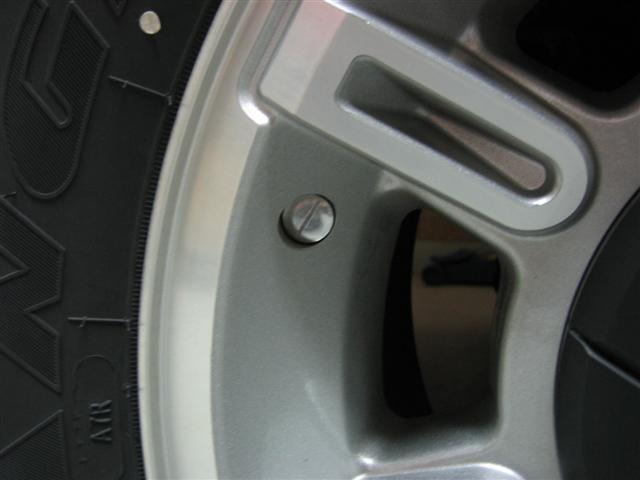
A well equiped machine shop would be extremely helpful, but the modifications can be accomplished with a few basic tools and a little patience. McMaster-Carr Supply is a good source for tubing & fittings. Their website is www.mcmaster.com. I used part # 51875K65 (3/8" tube to 1/8" male pipe thread adapter) for the fitting that screws into the wheel. The following website shows the various parts required for fabricating CTIS Lines: http://www.hummerknowledgebase.com/tire/homectis.html
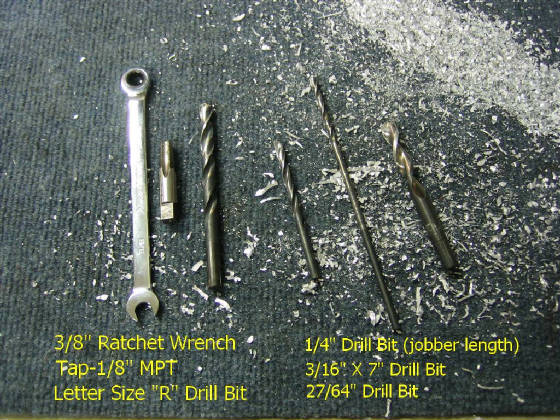
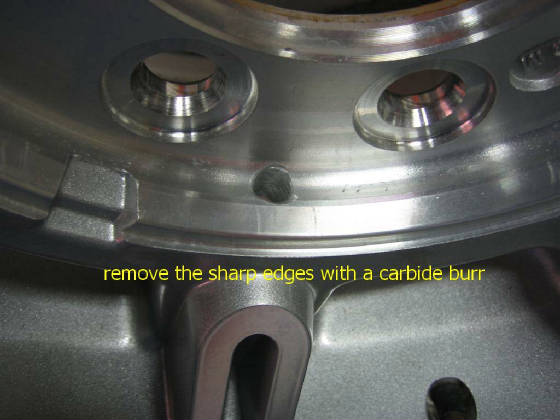
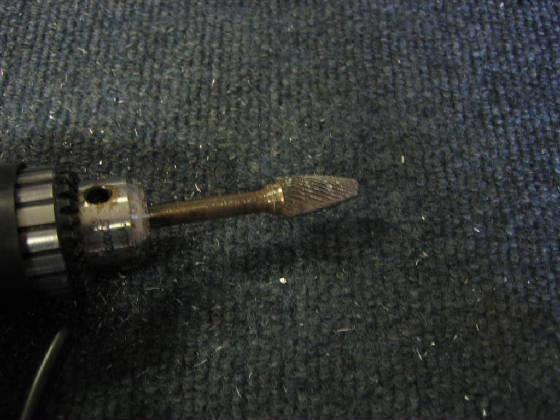
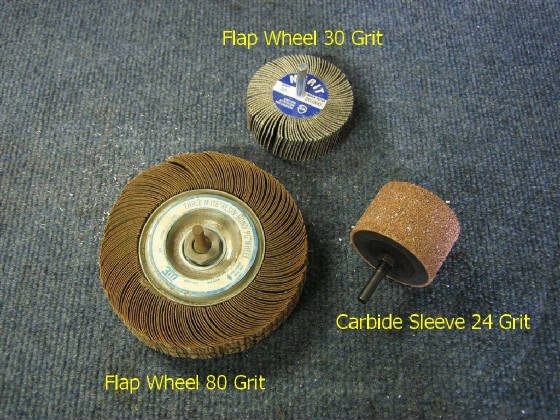
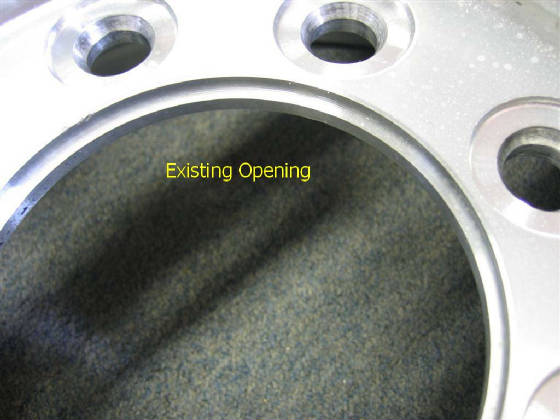
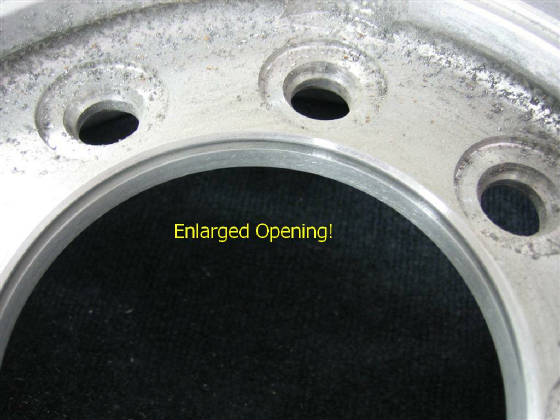
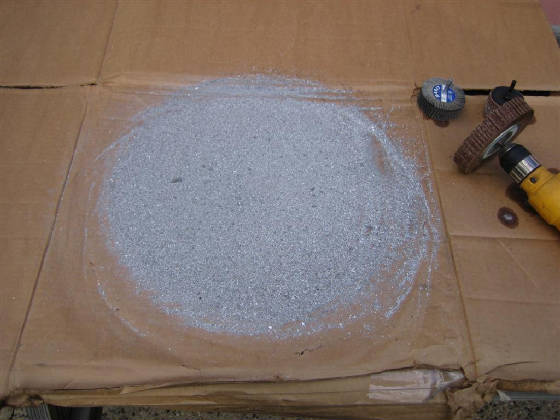
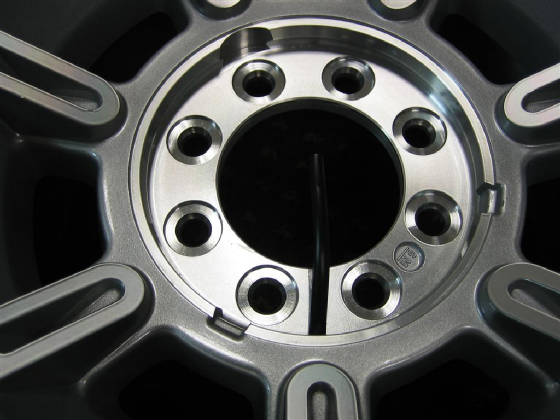
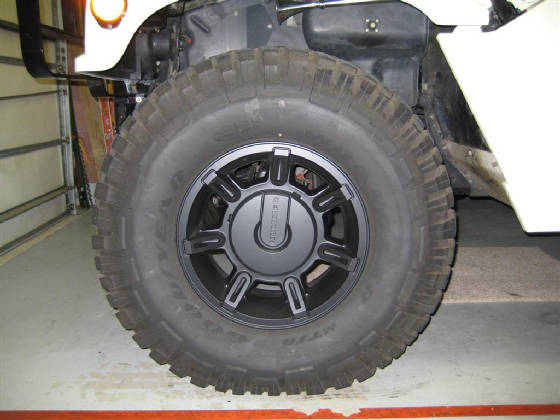
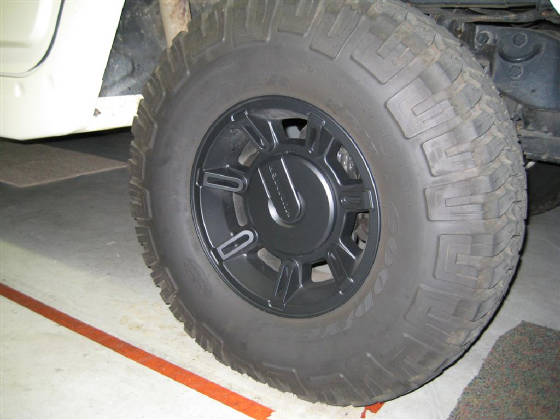
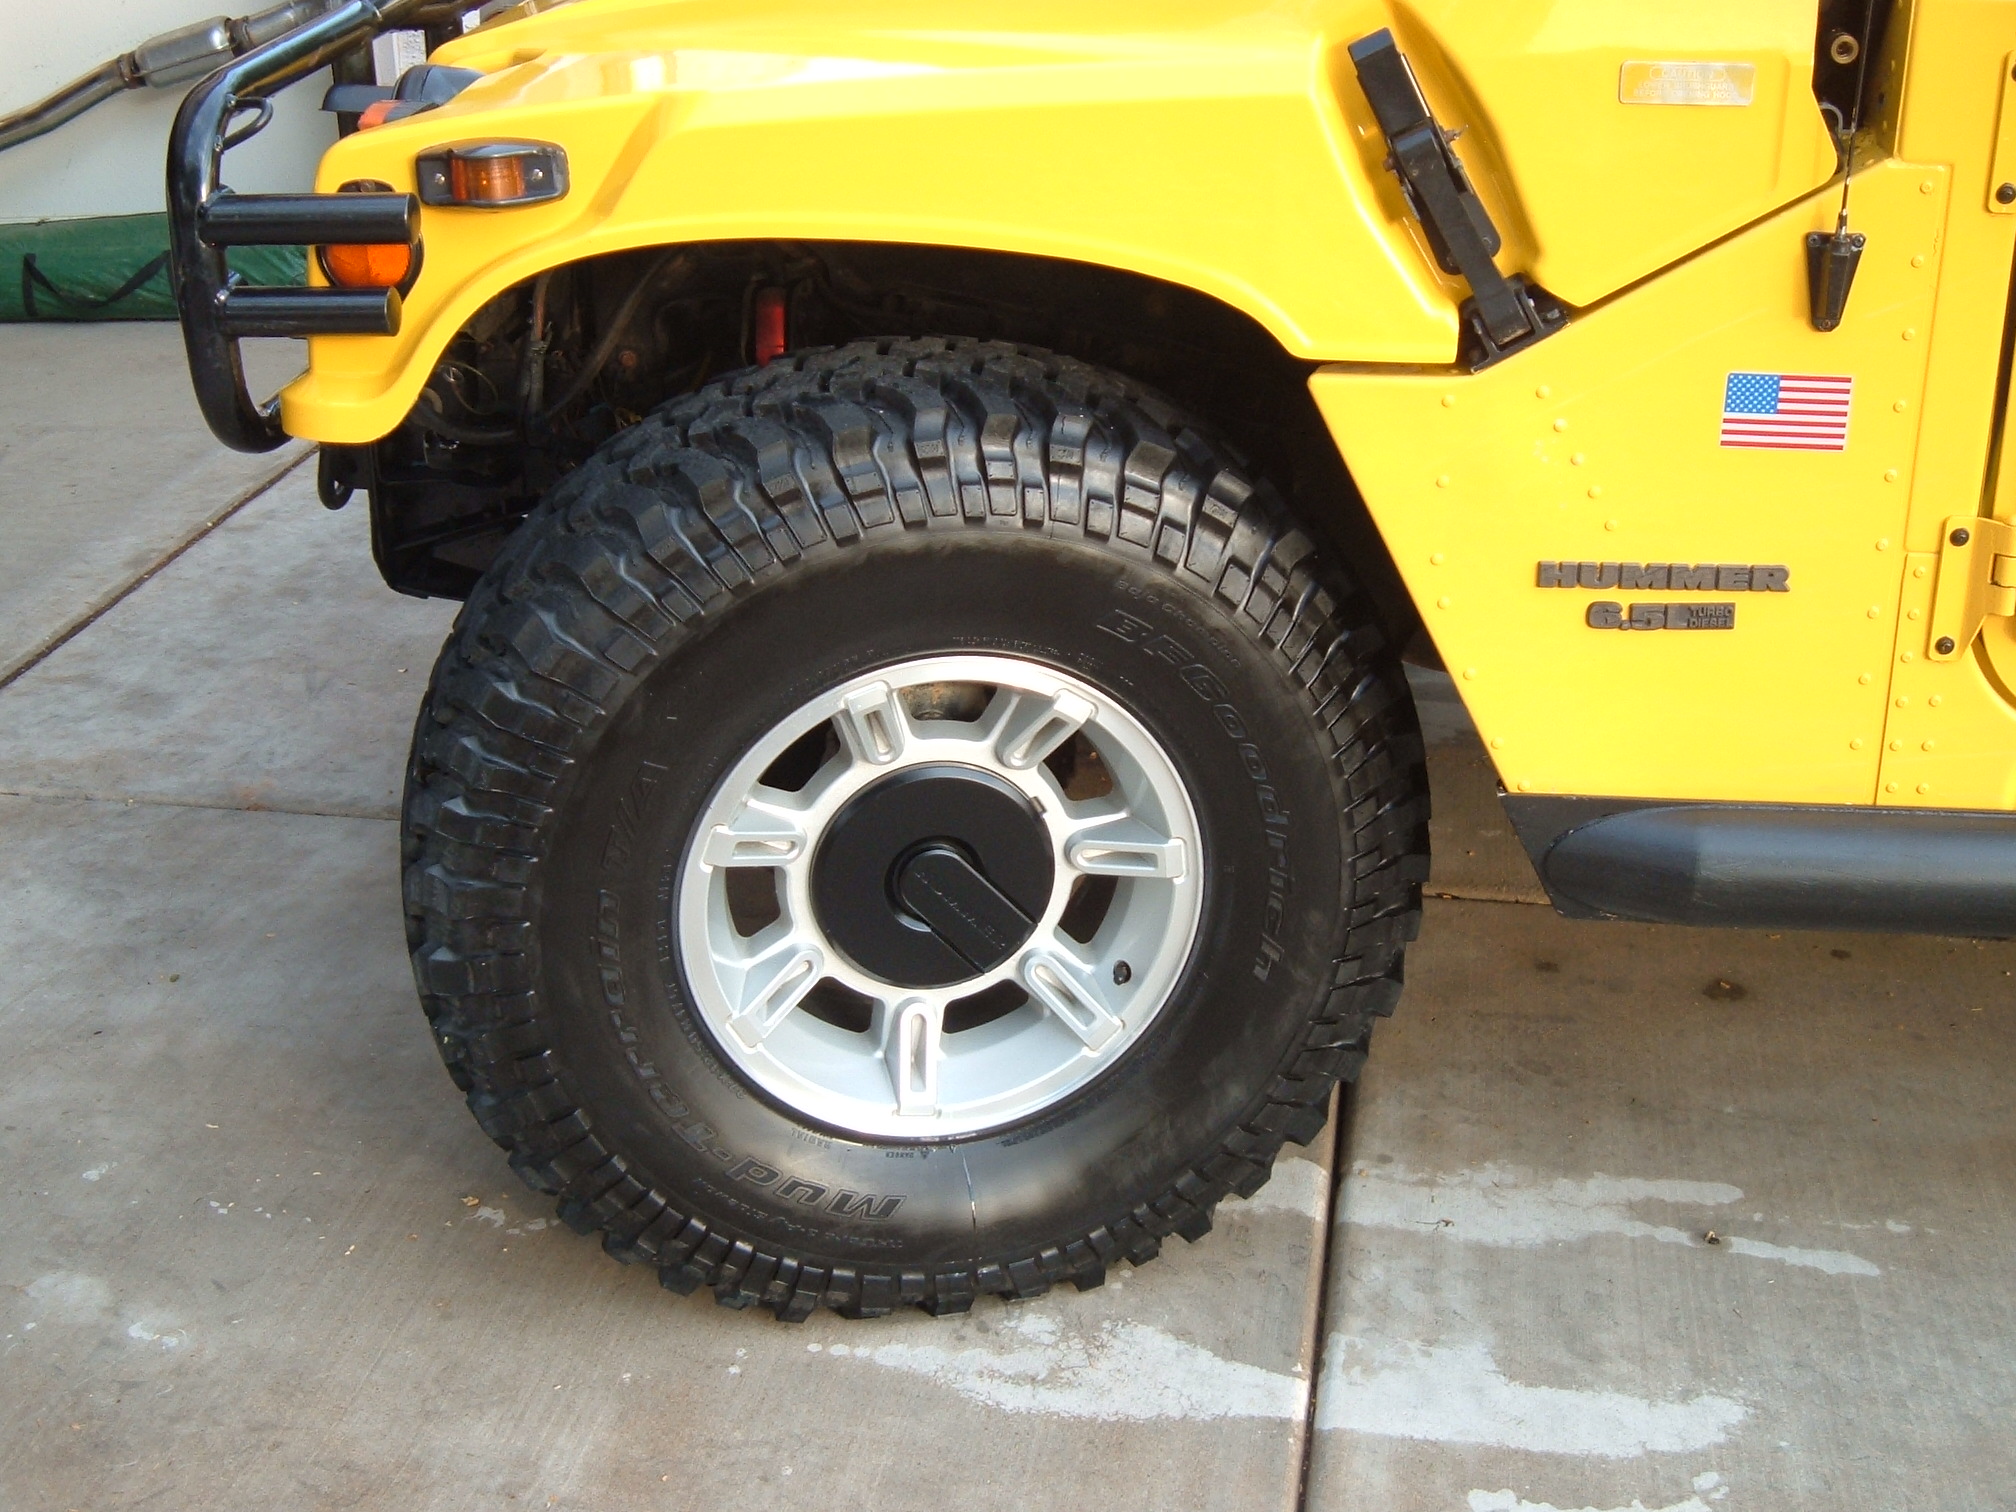
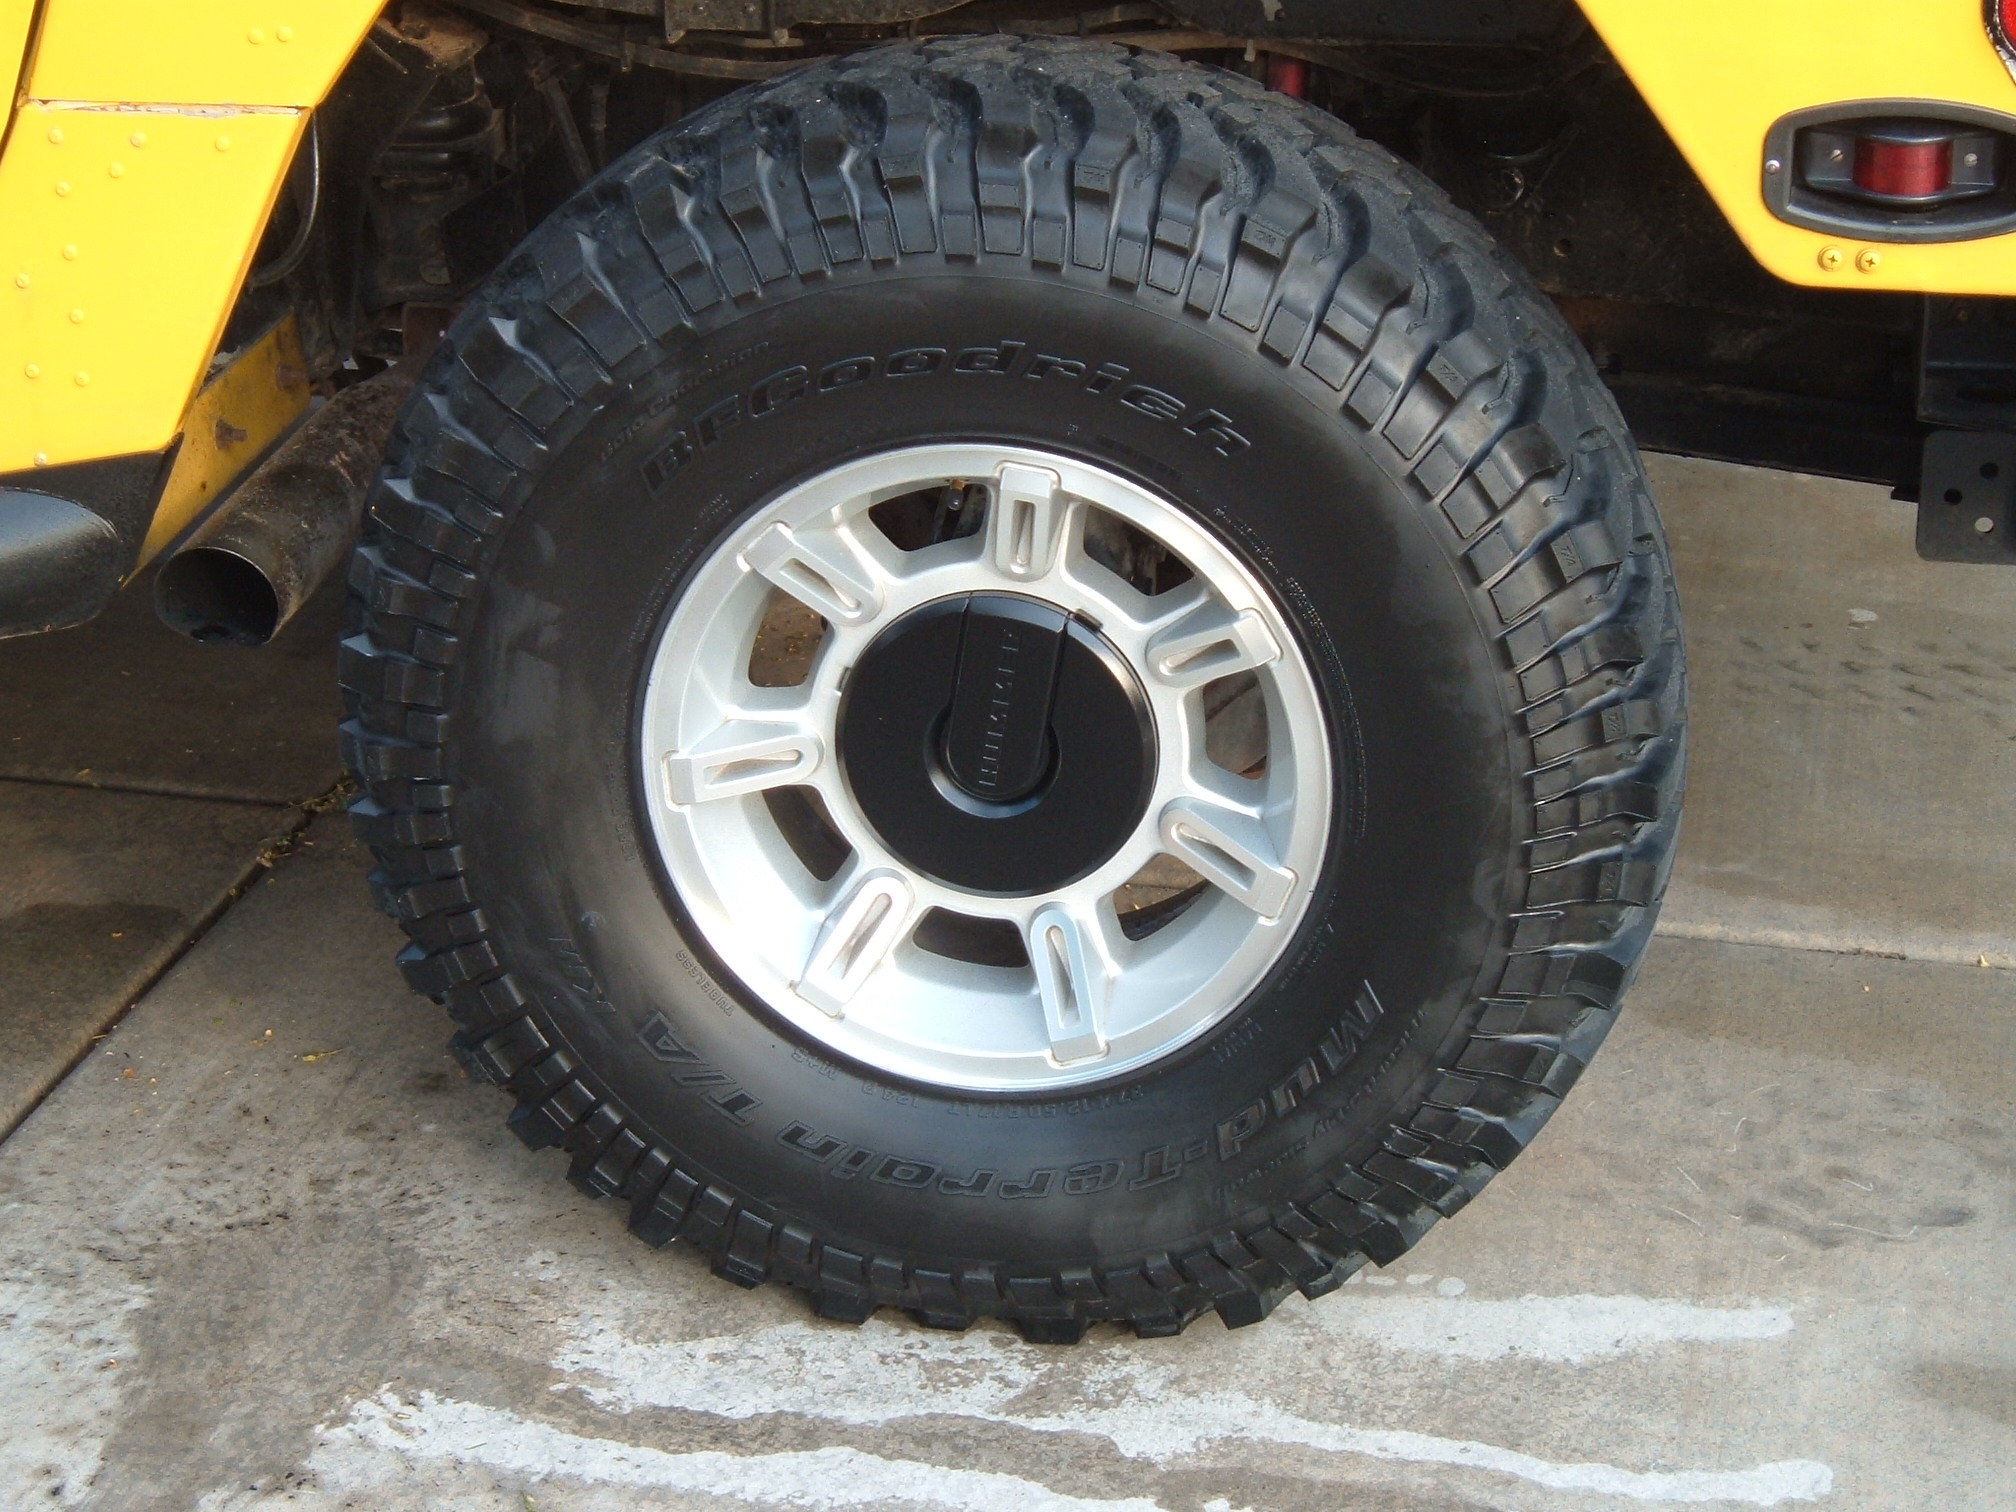
Just thought I'd share my experience with the H2 rim conversion. I used the article above for what turned out to be a good baseline guide: Well, my first challenge was just getting the right tools for the job. I went to 4 or 5 different hardware stores and nobody had either a 7" drill bit (all either 6" or 12") nor the 24 grit carbide drum referenced in the guide. I ended up getting one of the 12" 3/16 bits and using a cutting wheel to shorten it to 7". Instead of the drum I went with a large and aggressive carbide I had lying around with a Makita die grinder. The first pilot hole went fine, but my right angle drill was too big to accommodate the 3/16 bit for a straight shot pilot for the hole through the rim. Wasn't real comfortable with flexing the longer drill bits, so I ended up just measuring out where it needed to be and drilled straight through from the outside of the rim. The first one was about 1/8 off of where I would have liked it to be, but the rest are right on. Used a small buffing wheel with a Dremel to deburr instead of a carbide. Enlarging the ID for the hub to fit was the most difficult part, mainly because of how long it took due to not having the right tools for the job. Unfortunately I don't have a lathe in my garage, so for what I know could have been a 20 minute job took hours instead. I did the first two rims with the large carbide bit which worked OK, but it was just slow going. Every couple of passes around the rim I'd have to stop and clean out the aluminum that gummed up in the teeth of the carbide. At that point I was getting frustrated on how long it was taking; thinking there had to be a quicker way (without having a lathe). Turns out I have a router attachment for the Dremel and along with it are several small bits which somewhat resemble machining bits used on a lathe. Using that dramatically increased the amount of material being removed and cut down the overall time for each rim by at least half. I used the 60 grit flapper wheel for the final finish; it was smooth enough for my taste so I didn't bother with the 80 grit wheel. All the CTIS related items went smoothly. Tapping holes in the rim was no problem and putting together the new lines was easy. I had new rubber put on this past Wednesday and took it out Saturday on a moderate trail up here in the Wickenburg mountain area. No wobbles or shimmy on the freeway up to 65-70 and no problems off road, either. Overall very happy with how they turned out and how they look on my ride. For the price, it was well worth it. Hopefully they won't explode next week. One thing I forgot to mention is that McMaster Carr didn't have the the exact CTIS elbow fitting as referenced by the guide. The alternative part number still works, but it didn't look like it had enough meat on it to allow for drilling and tapping for the extra air valve. Because of that I just left the factory valve stem in place.
Todd
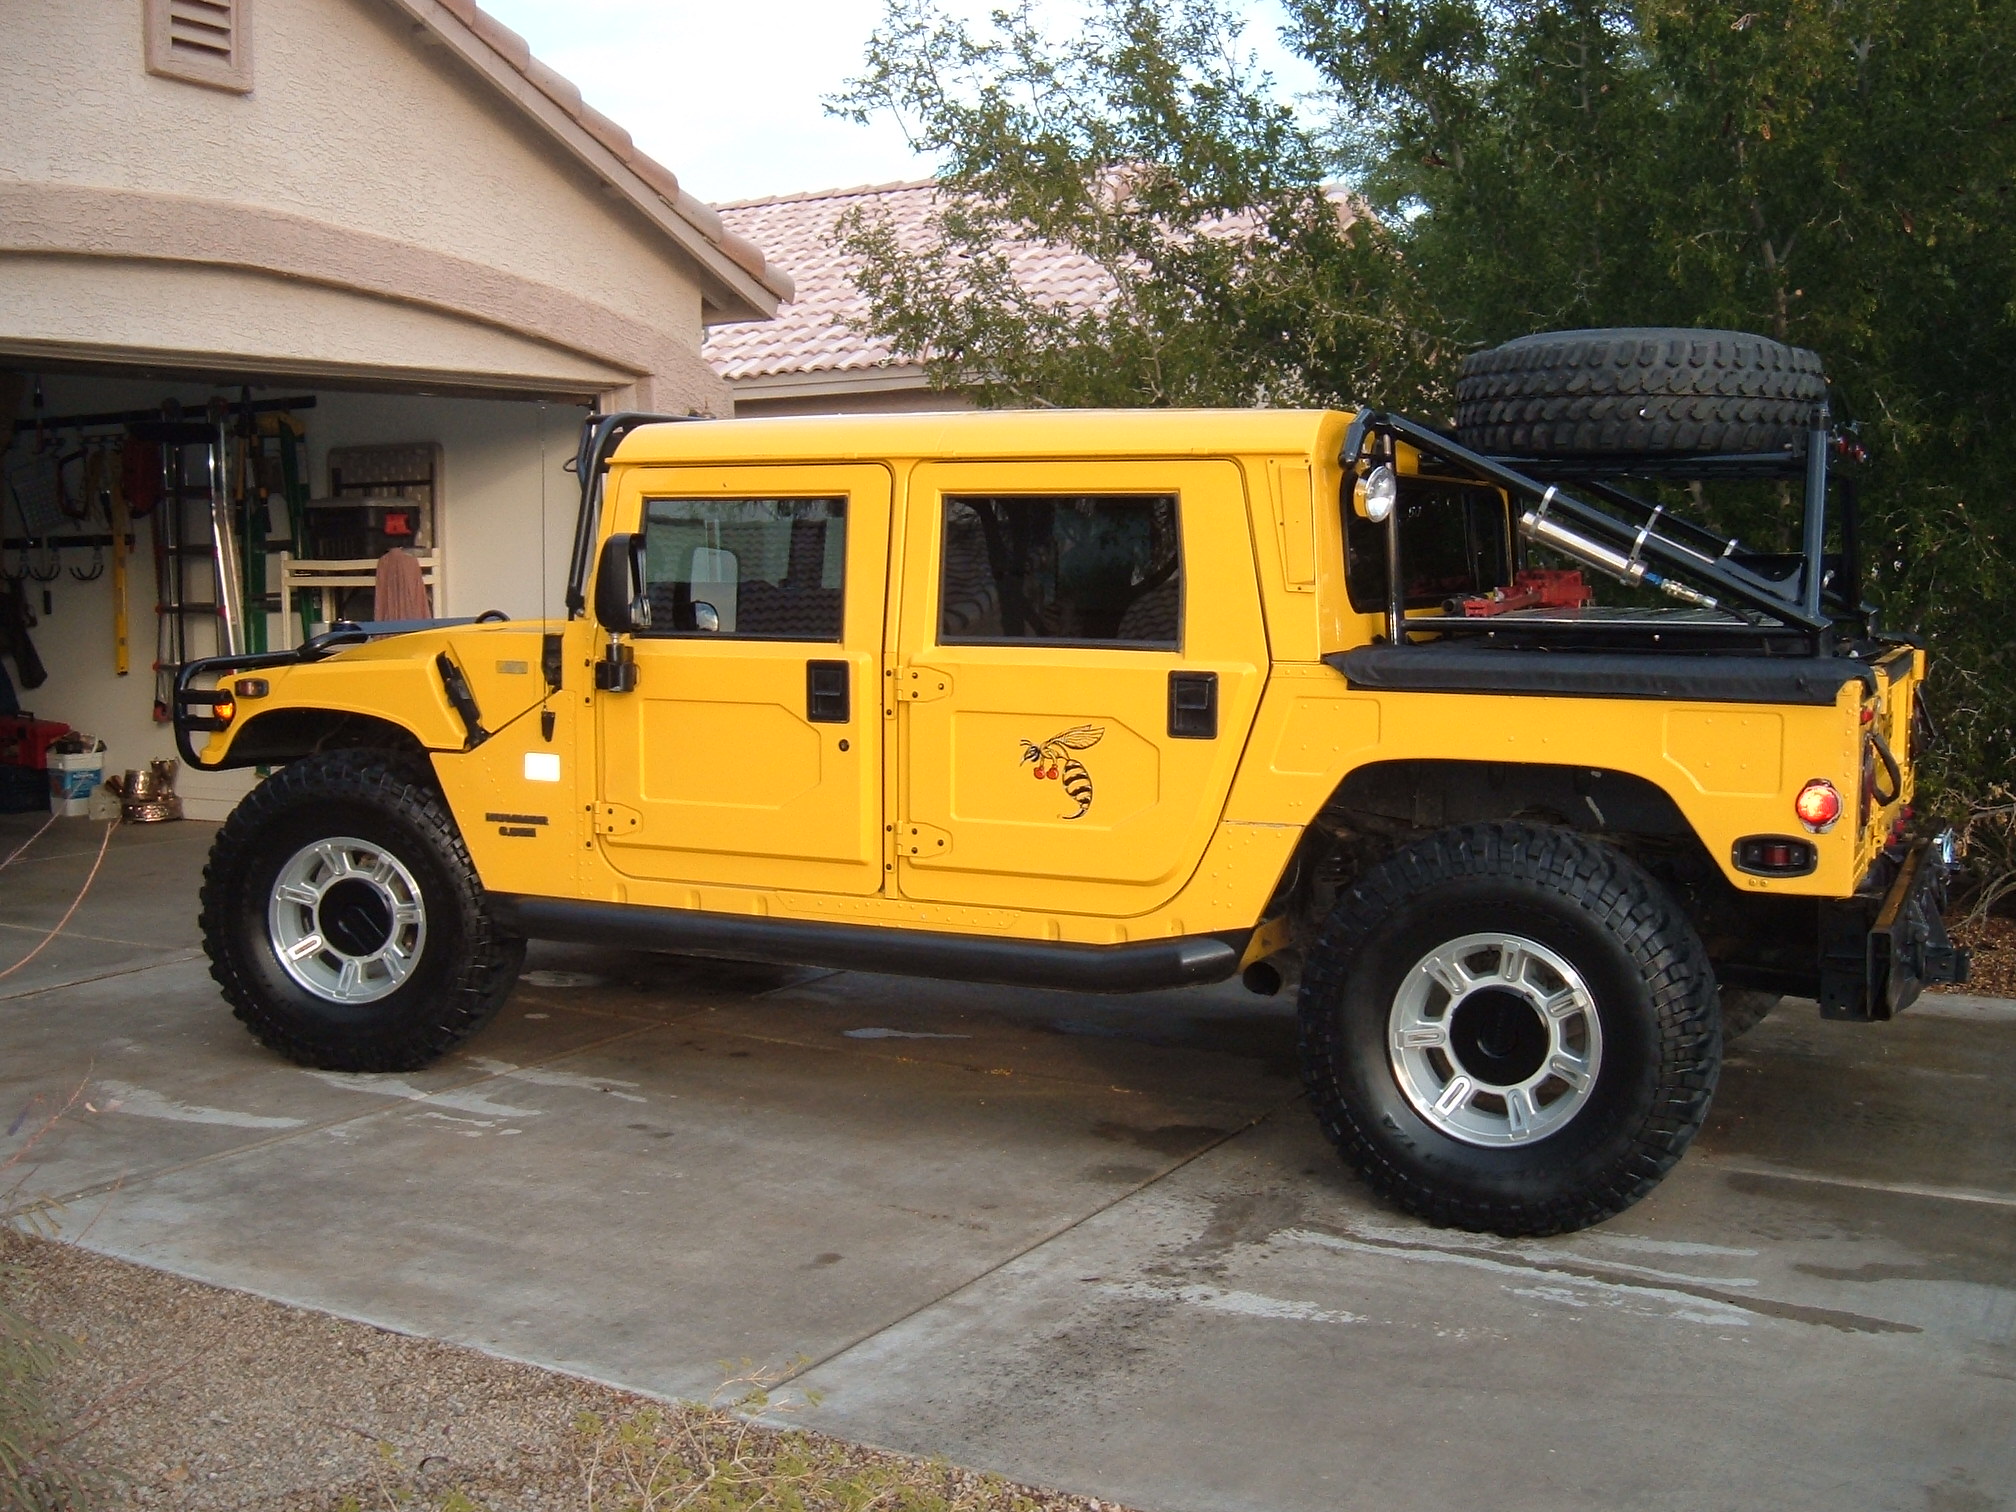
I don't think the offset has much effect on reliability. It does however have an obvious effect on the probability of the tire hitting the body. With the h1 offset wheels, the peak of the tires are always contained inside the truck body. With the lower offset wheels, with the tires sticking outside of the body, unless you have a body lift installed you will loose some travel before the wheel hits the top of the outer body panel wheel well. The H2 rims have a smaller offset than the H1 rims but is still large enough to keep the wheels inside the body. (just barely). That's my .02 for what its worth. David
The perfect addition to those new wheels, a weld on H2 wheel beadlock kit:
Razorback
|