| Forum | Marketplace | Knowledge Base | | H1 site | H2 site | H3 site | |

The Hummer Knowledge Base
|
This is about checking ball joints on the Hummer. Several people, including myself, have had catastrophic failures of the upper ball joints on their Hummers. These failures have sometimes occurred only a few miles after the ball joints were checked. When I had my failure, I replaced it with a known-bad, used joint that I had in my shop. This allowed me to get the truck back home. When I got back, I checked all 8 ball joints to see what I should order for replacements. Two of the lower ball joints had some movement, but were within spec. All of the uppers checked OK with no movement at all. This is particularly amazing since I had just installed a known bad joint. This prompted me to study and analyze the AMG recommended procedure for checking ball joints on the Hummer. I concluded that while their procedure for checking the lower was fine, that their procedure for checking the upper just did not make sense. Checking the Lower: The procedure is to raise the lower A-arm with a jack until the tire/wheel is off the ground. This causes the weight of the wheel to extend the ball joint. A pry bar is then placed between the bottom of the hub gear box and the ball joint mounting bolts. When you pry the hub upward, the ball joint is compressed, and any free movement can be evaluated as to whether the joint is worn out. This procedure seems to work OK. Checking the Upper: The AMG procedure for checking the upper is as follows: It does not matter whether the lower A-arm is raised or not. Place a pry bar between the upper A-arm and the hub. When you pry the A-arm and the hub apart (A-arm down, hub up), the ball joint is extended. You then observe any free motion in the ball joint, and evaluate it for excessive wear. Here is the problem: there is no part of the procedure that in any way compresses the upper ball joint! If the AMG test shows the ball joint as bad, it is bad. If it shows it as good, further testing is required. Here's why: the position of the upper A-arm (with relation to any movement in the upper ball joint) is determined by the A-arm bushings. Friction in these bushings may be holding the upper A-arm upward, causing the ball joint to be extended before the test is conducted. Further extending of the ball joint shows no movement at all. I recommend either (or both) of the following tests for checking upper ball joints: A: Use the AMG method combined with the following - using a large pair of groove-lock-type pliers, attempt to compress the upper ball joint by squeezing the upper A-arm and the hub together (A-arm upward, hub downward). The pliers are used to perform the exact opposite of the motion performed by the pry bar. If either test shows excessive movement, the ball joint needs to be replaced. B: While the lower A-arm is supported (i.e. while checking the lower ball joint), firmly move the top of the tire/wheel assembly in an in-and-out motion. If there is looseness in the upper ball joint, this test shows it immediately. If there is motion and/or clunking during this test, a visual check must be performed to identify the loose component. Loose tie-rod / radius arm ends can cause similar symptoms.
Dave Breggin
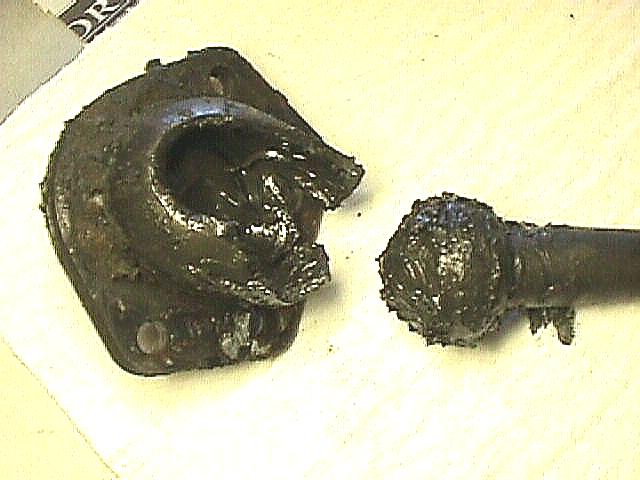
Ball joint as removed after the failure. Notice the abundance of lubricant.
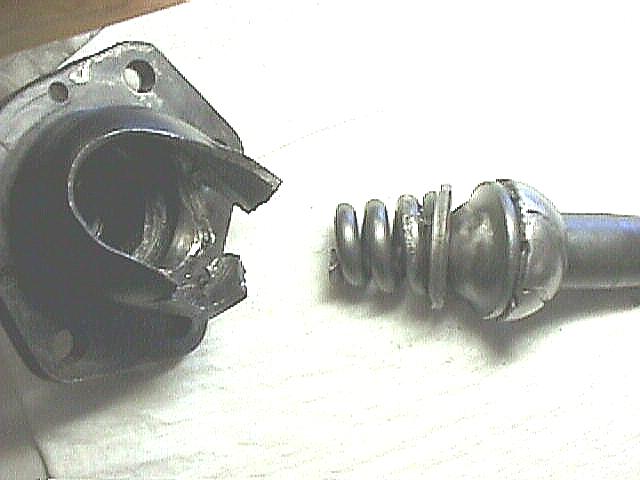
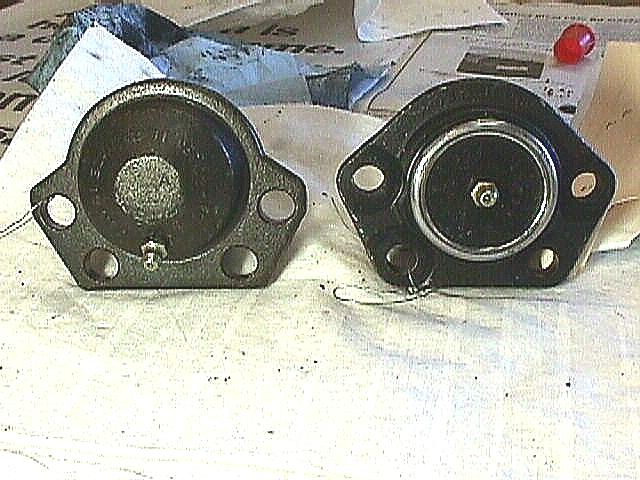
Same ball joint with grease removed, and spring/cup extracted from casting.
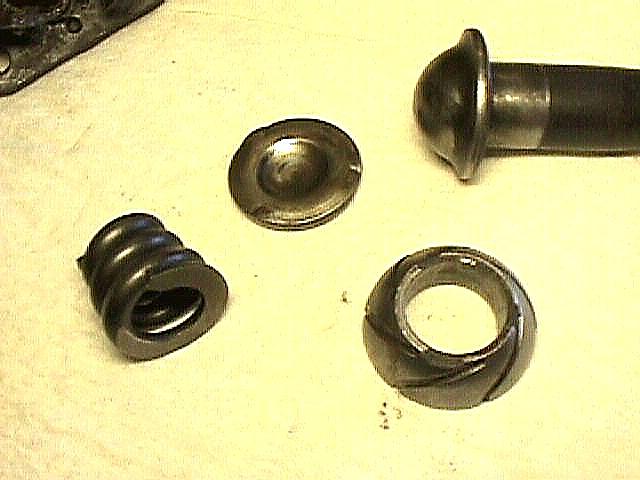
Details of the inner pieces.
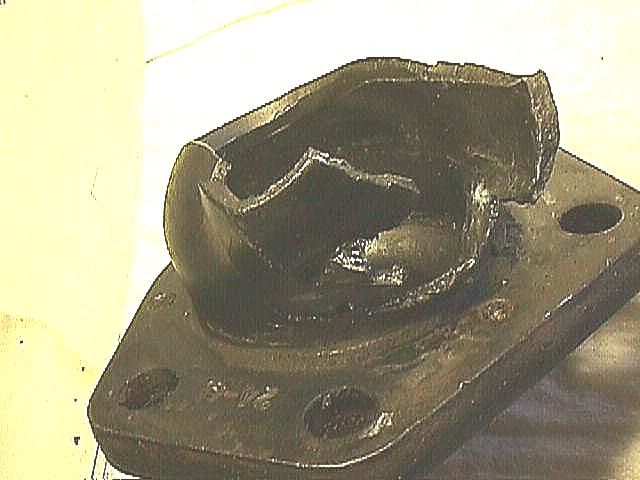
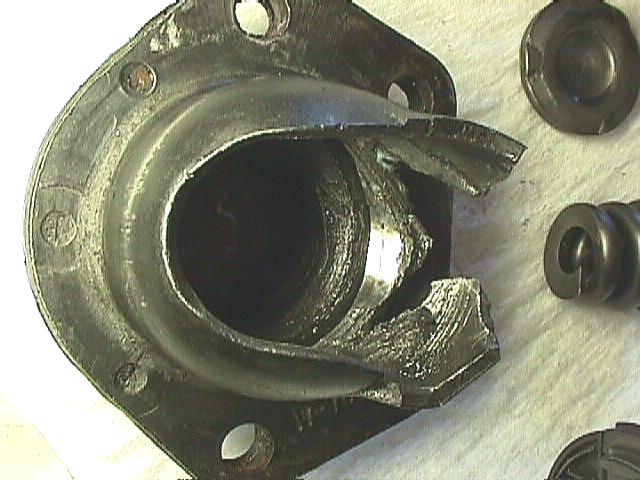
Details of the failed casting.
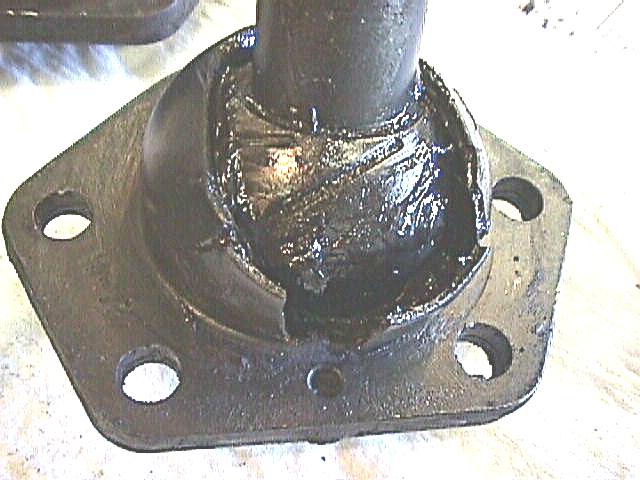
Closeup of another "ready-to-fail" ball joint.
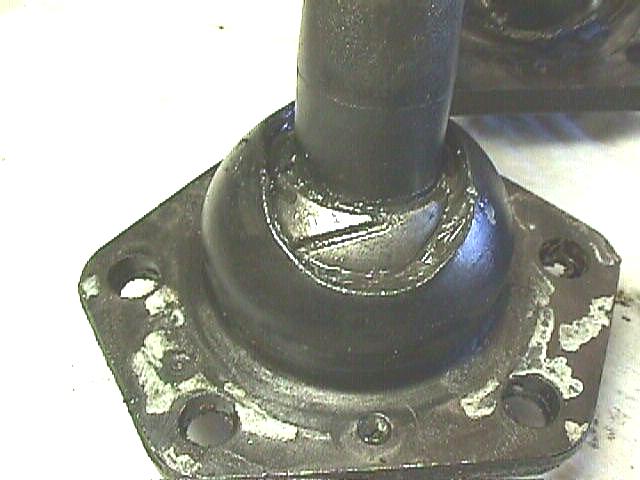
Closeup of a good-condition ball joint (rubber boot removed).
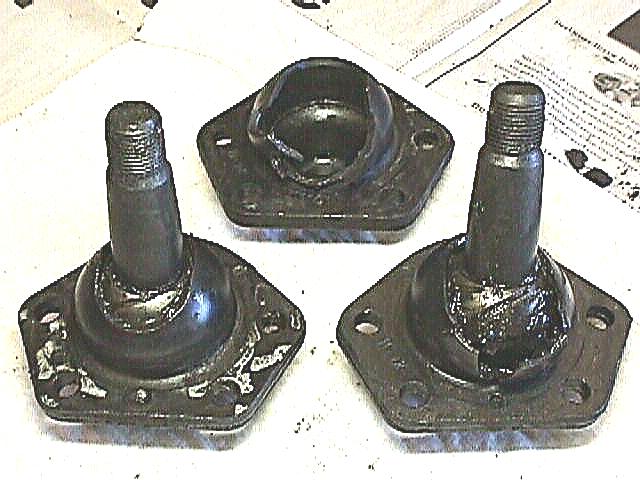
Lower left is a good ball joint, lower right is "ready-to-fail", and upper is "toast".
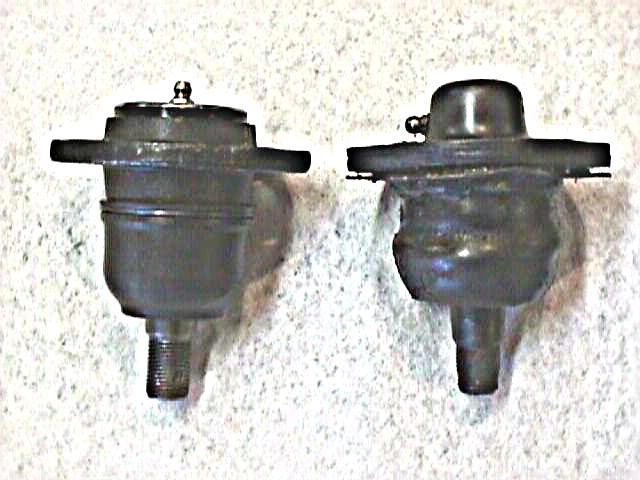
Left is old style, right is newer "heavy duty".
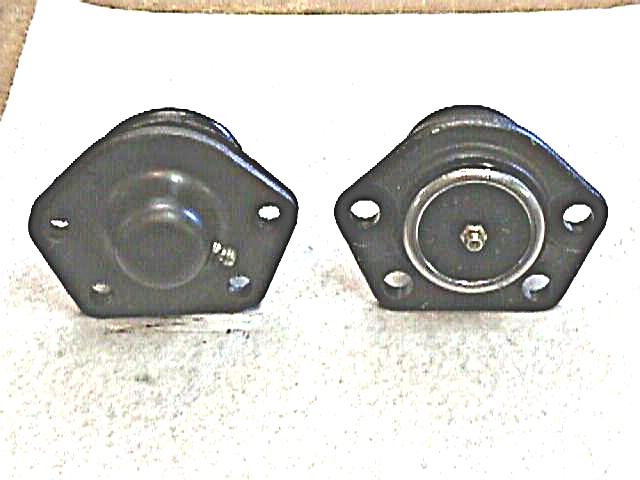
New is on left, old on right. Notice how much larger the casting is.
Top view of new HD lower (left) and upper (right) ball joints.
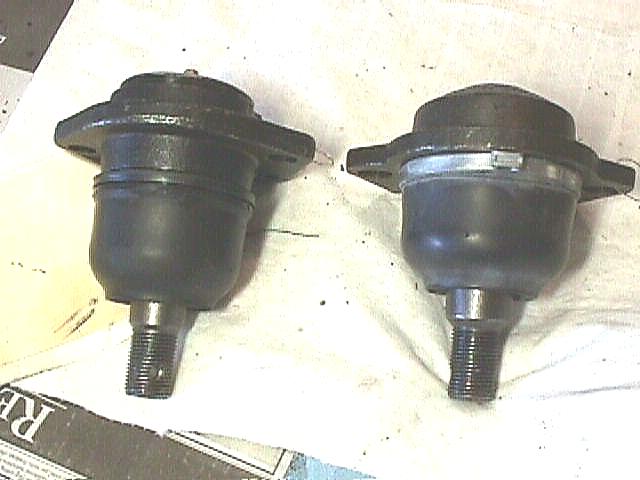
Side view. Notice the upper ball joint (left) is longer / taller than the lower (right).
New style upper with the boot removed.
|